
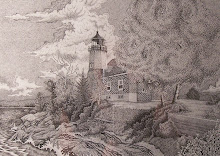
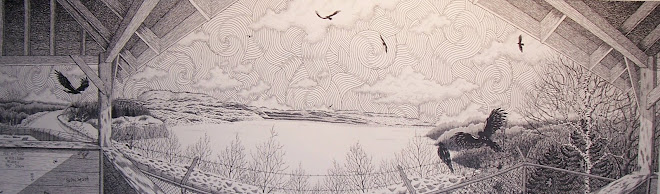
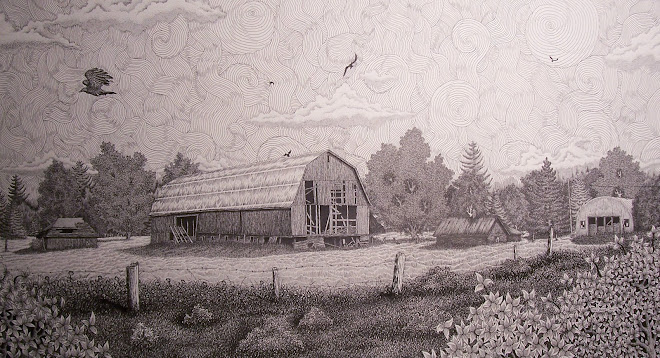
Now in the first step of this lesson I just want you to think of the sky in two simple steps. The first step will be the night sky and the second will be a more intense swirled sky. I’ll go over the first step in this lesson.
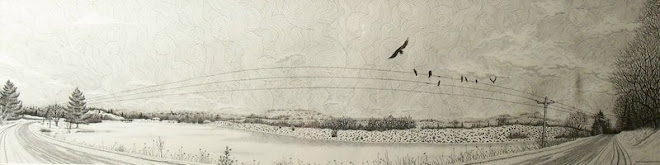
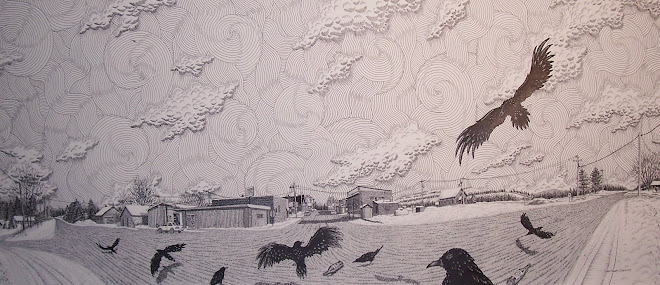
First sketch out any thing such as birds or planes or stars or what have you that will NOT be completely covered in with ink. Once this is completed then all you need to do is take the largest pen size you have available and begin filling it in. I suggest you use your pens but you can use a brush BUT keep in mind that using a brush will tend to leave lighter areas and you will need to go over these but when you do keep in mind that a large amount of wet ink in one area will make the paper buckle AND can also damage the surface of the paper. Using your pens may take longer but is so much more controlled and it tends to force you to be patient and pen & ink requires patience above all else! I like to go over any large area that has been inked in like this several times and going in different directions much like you would with cross hatching.
In next post we’ll go over second step of completing the sky. Any questions just ask.
http://stacyvaughndavis@blogspot.com
www.flickr.com/stacyvaughn68


No comments:
Post a Comment