
Now for the final lesson and sample for this piece you just need either Conte’ Pencils or some good quality pastels or pastel pencils…whichever you prefer and also your .25 mm pen to complete the stippling in the hat. Now I ca only go over what I HAVE done on my piece so I give it to you step by step. IF you do not have a self portrait of yourself on your piece then ignore this.
I first complete my hat by just lining it in with my .25 mm pen and then filling in with some loose stippling. Add more stippling by overlaying to indicate shading and use line work to indicate the stitching in the hat and also any logo’s on it. Once that is complete I clean the pen in my ink cleaning solution and set aside.
Now here is the simplest part of the work…this is nothing more than what we did as children with a coloring book our parents bought us. You just color it in! I first begin by using flesh tone colors on my face. I avoid placing any color in the eyes yet . I then switch to a sepia color but just go with what YOU feel is right for you. I sparingly add any shadows to the bridge of my nose and cheeks using a stump to blend both colors to soften it out. ALWAYS add darker colors on lighter colors sparingly because when blending with a stump you’ll be amazed how it can spread. I then add a dark brown to my eyes and use the stump once again to soften the tone. I do the same thing on the fingers starting from light to dark. You may want to leave the large hand for last because you do not want any smearing of colors but you basically will do the same on the small hand as you will on the large.
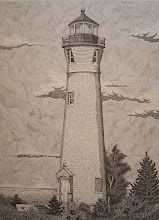
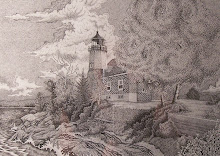
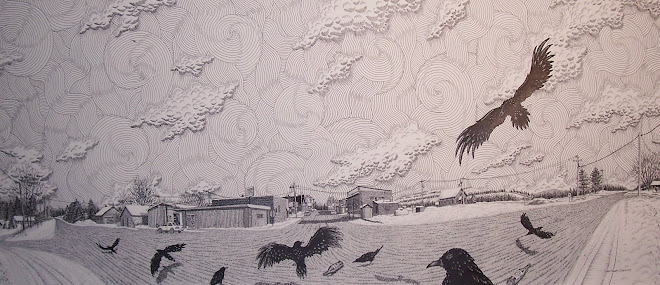
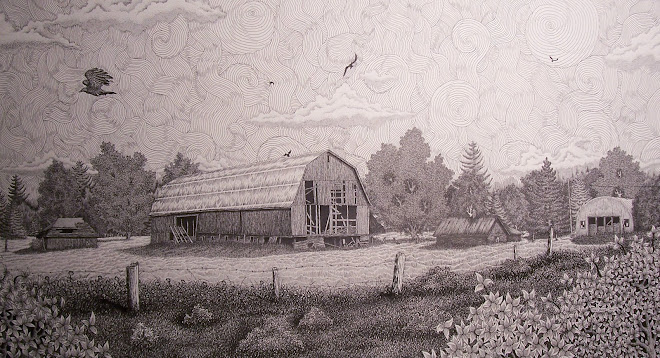
I’ll begin lessons on a new piece I was commissioned to do as a Christmas gift. Any questions just email!
www.stacyvaughndavis.bogspot.com
www.flickr.com/stacyvaughn68
www.360.yahoo.com/stacyvaughn68


No comments:
Post a Comment