
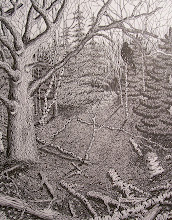
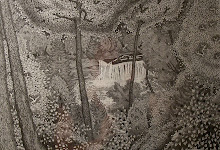
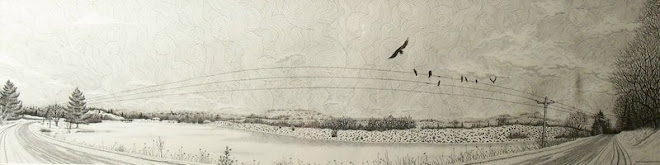
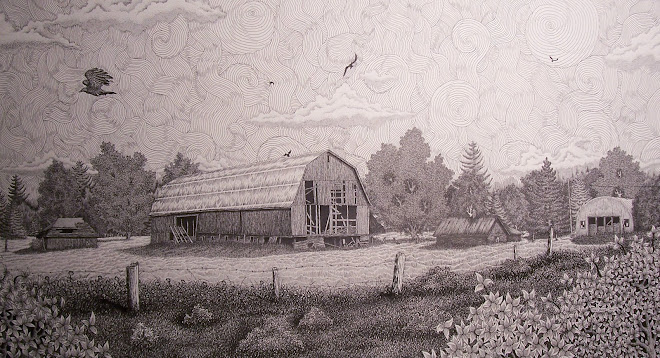
When I begin detailing the tree and surrounding foliage I first will decide which ones will be the prominent and those that will look detailed but in actuality there is very little detail involved. I began working on the tree closest to me using my .30 mm pen and using the techniques I have previously went over (refer to flickr account and look for the tree’s and foliage worksheet) and I complete that tree first. I then move on to the second most prominent, the third and so forth. If you’ll notice on the second prominent tree I have used very small circles tightly bunched together. This technique offers a great texture for tree’s that you want to indicate some detail but you do not want to overpower the more prominent tree’s. Once I completed all the circles I then just over it again using my .25 mm pen and just scribble in some shading in the leaves themselves. For the most prominent tree to my right I only shade near the visible branches using the cross hatching technique. This will be the ONLY tree using the cross hatching technique because of the fact that when you are trying to convey foliage which in and of itself has absolutely no straight lines using cross hatching to much will leave the piece looking very two dimensional…try and avoid this as much as possible unless you give each line a slight curve and this can be difficult not only in the hours it will add to your work but cross hatching in foliage can go very wrong very fast …use this technique ONLY when you feel completely comfortable with your pens.
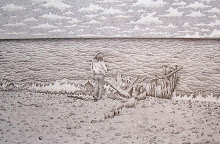
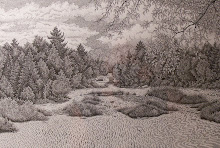
Practice on some scrap paper all the different tree and foliage techniques and see what most fits your ability at this time. Get these completed and I’ll cover the distant foliage and also the beach sand. Any questions email me and I’ll get back to you asap.
www.flickr.com/stacyvaughn68
www.blogspot.com/stacyvaughndavis


No comments:
Post a Comment