This blog is for anyone interested in Art. I hope to share tips,lessons and if possible some advice on creating your own masterpieces! I want to exchange ideas and techniques as I give step by step advice from beginning to end on whatever piece I am working and I strongly urge anyone with questions to feel free to ask!
To view more works and tutorials please go to www.facebook.com/stacyvaughndavis where you will be able to find and follow along with my most recent works and tutorials. Thank you!
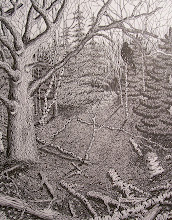
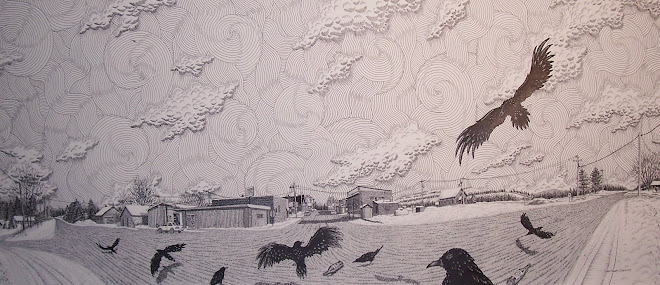
As you are stippling in the walls to any buildings always keep in mind how dark you want the subject. Everything you add now will always affect everything else in the piece and it is difficult at best making something that is to dark initially work so always when stippling try and take a sample sheet and do some different stippling techniques going from loose which will make a light shading and tight stippling which will create a darker shadow, it all depends on the looseness & tightness of the stippling. In the sample photo I have included on this post I want you to notice and study the stippling technique along each shaded sides of the buildings. In the distant building I used a loose uniformed stippling technique (using the .25 mm pen) and then I went back over and used some quick pen strokes giving the feel of the grain of wood. Then in the building closest in the view I only used fairly loose stippling on the shaded side of the building and if you will notice I also added small vertical hatches along the siding itself. Once I have decided just what type of detail I want to add to each I always use a fairly loose stippling technique because you can always come back and add more stippling or cross hatching or whatever. The point being less is more. The car directly in front of Norms’ Bar I also stippled in using the .25 mm pen but I used fairly tight stippling here and also if you will notice, I have left the windows of the passenger side of the cars that you can see through the rear window blank for now. I’ll only be able to decide what and how I want to create the affect there when I have completed the front of Norm’s Bar. Now the tree’s that are along the side of Norm’s Bar I will leave undone until I have did all the pen work along that side of the wall. I can the come back in and complete all the tree branches. Remember to outline all your tree’s that are located in front of any subject you are working on. I sometimes will not and end up going over them without realizing I wanted a tree there in the first place. That can ruin a piece so be careful. If there is any artwork that you are interested in and have seen here can be viewed and purchased at the Copper Country Community Arts Center / The Kerredge Gallery, 126 Quincy Street. Hancock Michigan. Just contact me and let me know which piece you are interested in or contact Cynthia Cote’ at (906)-482-2333 and let her know the Title of work and if is not at the Gallery itself I will bring down for you to view, you can set an appointment at your convenience. We will continue with techniques used to create the shading in the walls in next post. I will do my best to post a lesson every Sunday or Monday, it all depends on any shows or exhibits I am doing. Any questions let me know.
I am a professional artist living in the beautiful Upper Peninsula of Michigan. I make my living as an artist. Most of my time is dedicated to creating my works and finding galleries and basically anywhere that I may show and possibly sell my art work. My entire life really revolves around art and just trying to continue to make a life and living as one! In this blog I hope just to share ideas, lessons & tips using pen & ink and other mediums as I create my art.
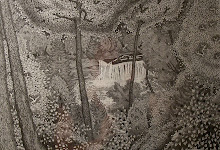
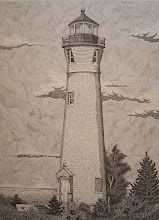
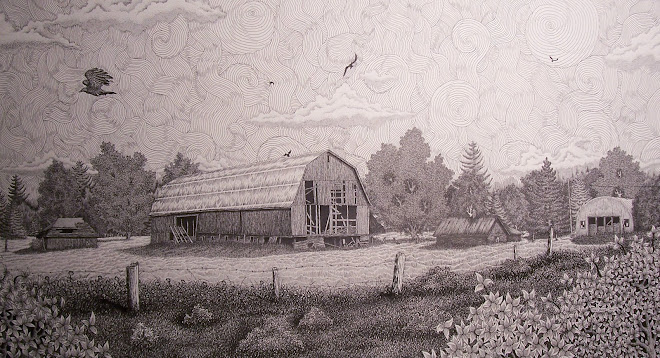
Original Pen & Ink Artwork. 22" x 28". Awarded Honorable Mentions at "Artist's of the U.P. 2007" and also "Northern Exposure 14th Annual Juried Art Competition 2007". $1000.00 USD