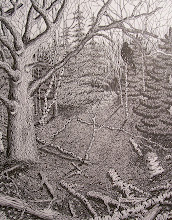
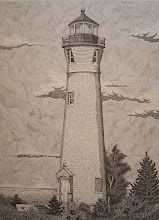
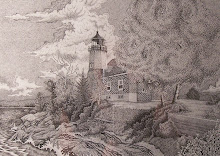
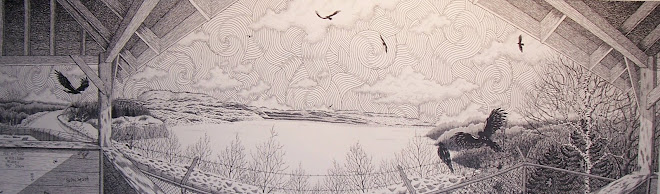
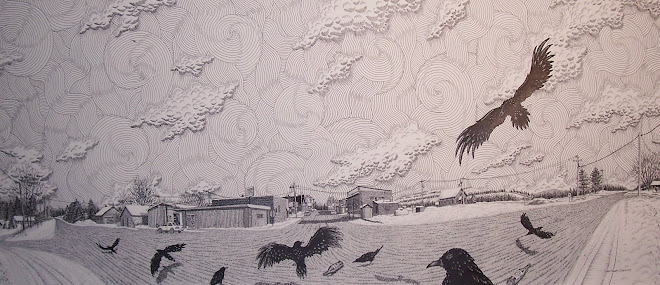
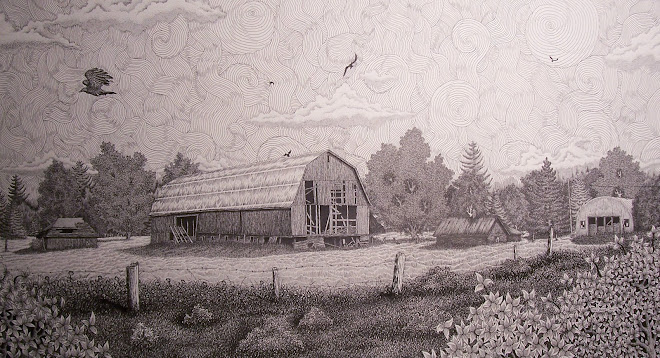
Now we will begin on the walls of the buildings and the techniques used. You will have to be the judge of how dark or light you want to create them but remember that after I have finished the initial stippling the create the tone and texture you are looking for you have to keep in mind that you will have to come back into the same walls and add more texture and life to it so just always keep this in mind. If you add to much stippling or create it to tightly it will just make the walls far to dark or limit the texture you can add later which will affect the overall piece dramatically.
To begin the walls on either of the subjects I first decide how dark and rich I want to make each building, what is the subject I want to concentrate on and make that the thing in which everything else will flow into. Study each building in each sample photo I post. You will be amazed by how much you will actually pick up just by studying what I am providing on each post. Now once you have decided on how the piece shall work out begin stippling whichever building you want the most attention on and stippling in by using the .25 mm pen. Complete the entire building and make sure you keep the stippling uniform. Now the buildings will take at least two to three posts so just get the stippling completed o each building making sure that each will have either more tightly placed stippling or loose stippling. I’ll cover details such as cracking in the siding along each building and hw to create any shadows falling along them.
I also will be posting my lesson blogs on Facebook…but since I cannot actually remember the site address just go to Facebook and search “Stacy Vaughn Davis”…you should be able to find me but if not let me know.
http://profiles.yahoo.com/stacyvaughn68
www.stacyvaughndavis.blogspot.com
www.flickr.com/stacyvaughn68