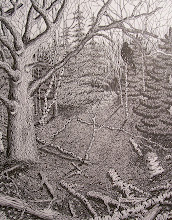
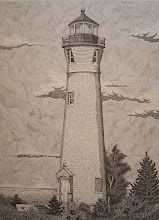
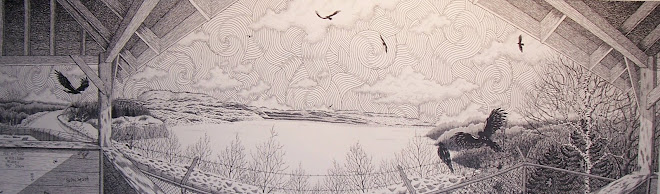
If you’ll look at what I have done on the right hand side of the piece you’ll notice how I try and layer my vertical pen work. I start by drawing uniformed vertical lines and then add more if I want more texture and tone value. Remember that when you do this only apply them about half way to maybe three quarters of the way over your original lines. I am trying to create a good value of tones and if I had brought them all the way over my first application this would just be far darker than I want. I also will do separate bunches giving the feeling of many small tag elders grouped tightly together instead of just one continues bunching of trees.
Also study how I have begun creating the tree in tree foreground. I have just drawn its outline and some curved line work to give it shape, I’ll wait later in the work to add detail. The pine tree directly behind it is done by outlining it and then scribble work (refer to study sheets in my Flickr account).
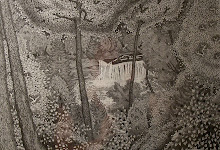
Also I began adding some of the stippling details to my nieces jackets using my .25 mm pen. You do not need to do this and for the beginners just concentrate on the trees and surrounding background. I just have a need for a bit of change in techniques and often will jump over to some other subject in my work but I ONLY do this when I have the general sketch work out…keep that in mind. Any questions email me.
www.stacyvaughndavis.blogspot.com
www.flickr.com/stacyvaughn68
www.360.yahoo.com/stacyvaughn68
www.republicmichigan.com